In yesterdays post we had just finished filling the holes with Latex Sealant and were waiting for it to cure.
And cure it did!
We all got in the tub and it is SOLID!!
Yeah! Yippee!
Now on to the next part,
The Acrylic Repair Kit.
There is a few steps to finishing the repair of the tub.
Scoop out the amount of Repair Paste that you think
you'll need into a plastic cup.
Add drops of toner to get the paste closest
to the color of your tub.
Stir well.
Cover all the holes and cracks with the Repair Paste.
Once all is covered let cure.
The box says about an hour,
but it was still tacky.
We decided to leave it over night.
The next day is was nice and hard.
Now to sand it down so it's nice and smooth.
Be sure to wear a mask and keep the bath fan on.
It really kicks up the dust.
See what I mean?!
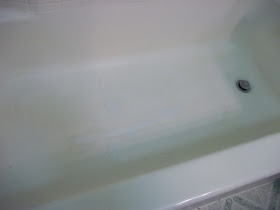
Here we go again trying to take a photo of white on white,
but T did an amazing job getting it smooth.
Vacuum out the tub again and
wipe down to remove all the dust from sanding.
Here we are at the last step.
Rubbing it down with buffing compound.
Not too shabby for a few of portagees! LOL
Now I get my shower back to myself!


No comments:
Post a Comment
I'd love for you to leave me a comment. Helps me to know I'm not totally crazy...like my family thinks I am!
*hugs*deb